Correct PU pneumatic tubing installation helps prevent air leaks, tube pull-out, pressure loss, and premature hose failure. Although connecting a pneumatic tube to a push-to-connect fitting appears simple, the tube must be properly selected, inspected, cut, inserted, and routed.
This guide explains how to install PU pneumatic tubing correctly in compressed air systems, industrial automation equipment, pneumatic control panels, and machinery.
Why Correct PU Pneumatic Tubing Installation Matters
A push-to-connect fitting seals against the outside surface of the pneumatic tube. If the tube has the wrong outside diameter, an uneven wall, a damaged surface, or an angled cut, the internal O-ring may not create a reliable seal.
Incorrect installation can result in:
- Compressed air leakage
- Tube pull-out under pressure
- Reduced airflow and actuator speed
- Cracking near the fitting
- Unstable pneumatic equipment operation
- Increased compressed air consumption
- Unplanned machine downtime
Before installing or removing pneumatic tubing, shut off the air supply and fully depressurize the system.
1. Confirm the Pneumatic Tube Size
Check the outside diameter, inside diameter, and wall thickness marked on the tube or product packaging.
The tube outside diameter must match the size of the push-to-connect fitting. For example, a 6 mm pneumatic fitting requires tubing with a specified outside diameter of 6 mm. Metric and inch tube sizes should not be treated as interchangeable.
The inside diameter also matters because it affects airflow and system response. A tube that is too small may restrict airflow and slow down a pneumatic cylinder. A tube that is unnecessarily large may increase cost, occupy more space, and make routing more difficult.
Before installation, confirm the following parameters:
- Tube outside diameter
- Tube inside diameter
- Wall thickness
- Working pressure
- Operating temperature
- Compatible medium
- Minimum bend radius
- Matching fitting size
For available sizes and technical data, view the HOMIPNEU PU pneumatic air hose.
2. Inspect the Tube Wall
Examine the cut end of the tube and confirm that the wall thickness is reasonably uniform around the complete circumference.
Do not install tubing with a seriously uneven wall or an obviously off-center bore. Uneven wall thickness may reduce pressure resistance and prevent the fitting from gripping the tube consistently.
If only the end of the tube is deformed, cut away the affected section and inspect it again. Replace the tube if the defect continues along its length.
3. Check the Tube Surface
The outside surface of the tube must be smooth and free from damage because it contacts the sealing element inside the fitting.
Do not install PU pneumatic tubing with:
- Cuts or deep scratches
- Cracks or abrasion
- Bubbles or visible voids
- Flattened or crushed sections
- Severe discoloration
- Sticky or unusually soft surfaces
- Clouding or other signs of deterioration
- Embedded particles or surface contamination
A scratch across the sealing area can create a leak path. Dirt, metal particles, oil, and other contaminants may also damage the fitting seal during insertion.
Replace tubing that shows extensive surface damage or material deterioration.
4. Cut the Pneumatic Tube Squarely
Use a dedicated pneumatic tube cutter with a clean, sharp blade. Ordinary scissors, pliers, or a dull utility knife may flatten the tubing or produce an angled cut.
Make one straight cut perpendicular to the centerline of the tube.
The finished tube end should be:
- Square
- Smooth
- Round
- Free from burrs
- Free from crushing
- Free from loose particles
An angled or deformed end may not pass completely through the internal O-ring. This can cause air leakage after the system is pressurized.
If the cut is uneven, cut the tube again instead of trying to reshape the end manually.
5. Insert the Tube Fully into the Fitting
Confirm that the pneumatic system is depressurized before connecting or disconnecting tubing.
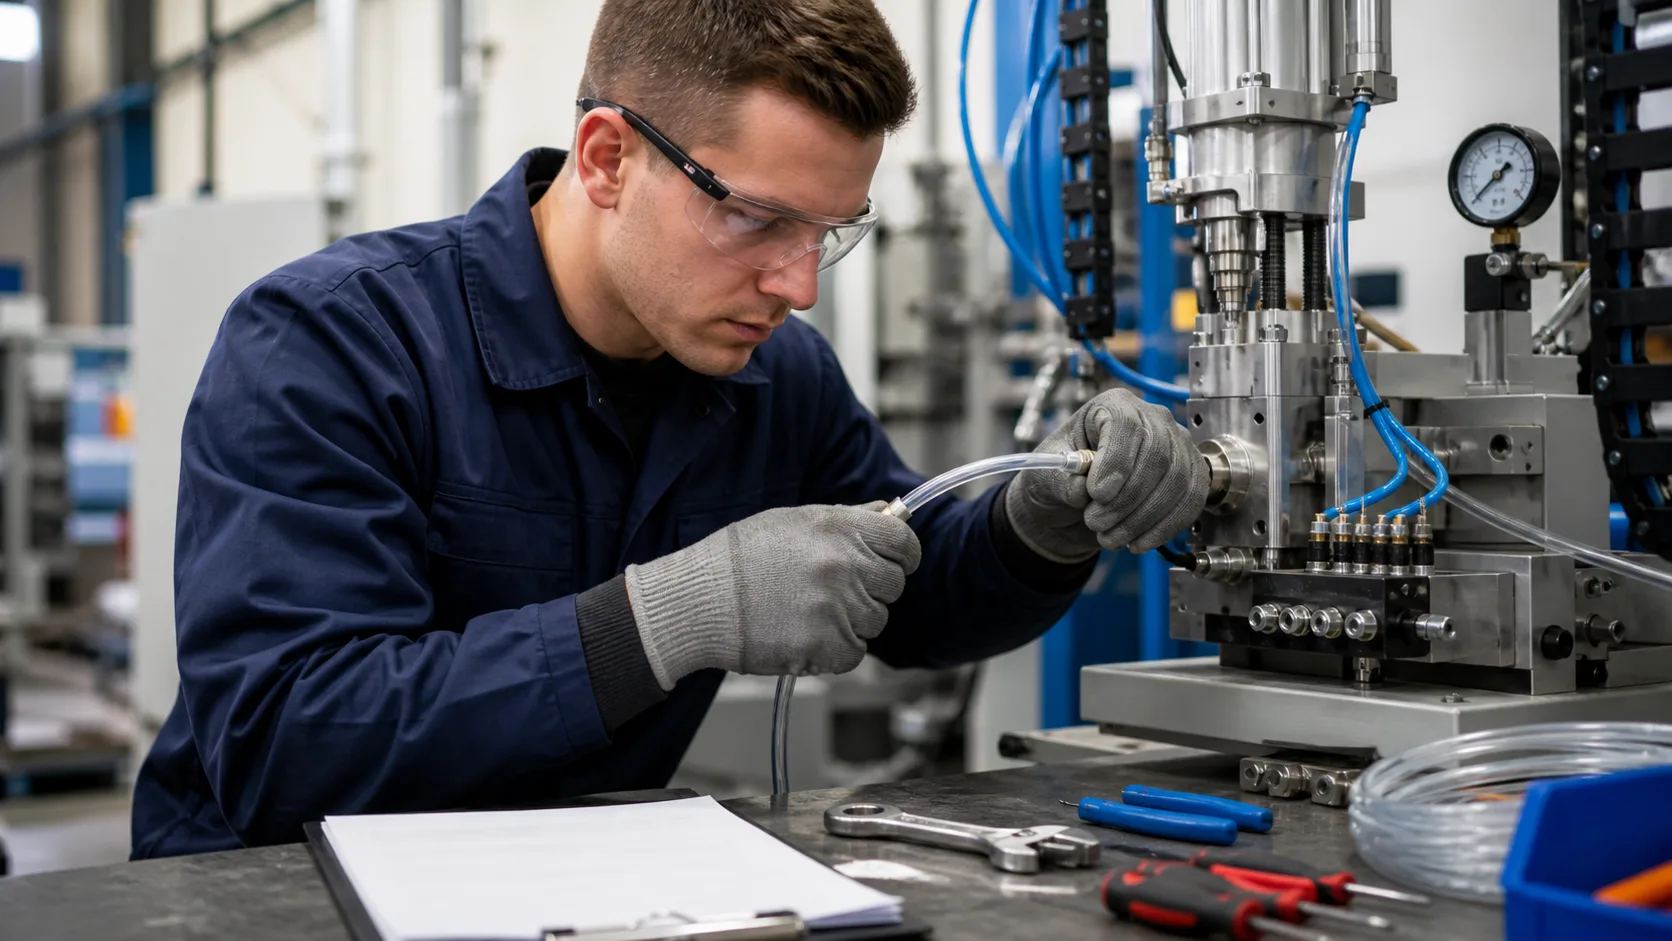
Hold the tube in line with the fitting and push it straight through the release collar until it reaches the internal tube stop. Do not insert the tube at an angle or twist it excessively.
Follow these installation steps:
- Confirm that the tube outside diameter matches the fitting.
- Cut the tube end squarely.
- Remove dirt and loose particles.
- Align the tube with the fitting.
- Push the tube straight into the fitting.
- Continue pushing until it reaches the internal stop.
- Pull the tube back gently to confirm that it is locked.
Do not press the release collar while performing the pull-back check. If the tube comes out without pressing the collar, it was not installed correctly or the tube and fitting are incompatible.
HOMIPNEU supplies push-to-connect pneumatic fittings in straight, elbow, tee, Y, reducer, bulkhead, and flow-control configurations.
6. Route the Tube Without Excessive Side Load
The pneumatic tube should leave the fitting in a natural direction. Avoid forcing it into a sharp bend immediately beside the connection.
Do not:
- Bend the tube below its specified minimum bend radius
- Pull the tube sideways at the fitting
- Stretch it tightly between two fixed components
- Twist it during assembly
- Route it across sharp metal edges
- Trap it under machine covers
- Position it near hot surfaces without protection
- Leave unsupported tubing where it can move or whip
Excessive bending, stretching, or twisting can reduce the effective working pressure of the tube and place additional stress on the fitting.
If the air line must change direction immediately after a port, use an elbow fitting instead of forcing the tube into a tight curve.
Moving machinery requires additional consideration. Allow enough tube length for the complete machine travel and protect the tube from repeated rubbing, pinching, and excessive flexing.
7. Perform a Leak and Function Test
After completing the installation, make sure that tools, loose tubing, and other objects have been removed from the work area.
Restore the air supply according to the approved machine startup procedure. Where practical, increase the pressure gradually while checking every connection.
Inspect the installation for:
- Audible air leakage
- Tube movement
- Tube pull-out
- Pressure loss
- Restricted airflow
- Irregular cylinder movement
- Abnormal valve operation
An approved leak-detection solution may be applied around the connection. Growing bubbles indicate an air leak.
If a connection leaks, shut off and depressurize the system before removing the tube. Inspect the tube end and fitting, then cut a fresh tube end or replace the damaged component.
Never attempt to repair, disconnect, or adjust a leaking connection while it remains pressurized.
8. Store PU Pneumatic Tubing Correctly
Unused PU tubing should be stored in a clean, dry, shaded, and ventilated area.
Protect stored tubing from:
- Direct sunlight
- High temperatures
- Excessive humidity
- Rain or standing water
- Ozone-producing equipment
- Strong acids, alkalis, and solvents
- Sharp objects
- Heavy loads that may flatten the coil
Keep the tubing in its original packaging whenever possible. Avoid opening a complete roll until it is needed for production or maintenance.
Use a first-in, first-out inventory system so older stock is used before newly received tubing. Storage life depends on the material formulation, packaging, and environmental conditions, so every roll should be inspected before installation.
When Should PU Pneumatic Tubing Be Replaced?
Replace pneumatic tubing when it shows:
- Cracks or cuts
- Permanent flattening
- Severe discoloration
- Loss of flexibility
- Sticky or degraded surfaces
- Repeated leakage at the fitting
- Damage caused by heat or sparks
- Chemical attack
- Excessive abrasion
- Failure to remain securely connected
When the damage is limited to the tube end, it may be possible to cut away the affected section. Replace the complete tube when cracking, discoloration, hardening, or other deterioration extends along the tube.
PU Pneumatic Tubing Installation Checklist
Before pressurizing the system, verify that:
- The tube size matches the fitting
- The pressure rating suits the application
- The temperature range suits the environment
- The tube material is compatible with the medium
- The tube wall and surface are free from defects
- The tube end is cut squarely
- The tube is inserted fully
- The pull-back check has been completed
- The route respects the minimum bend radius
- The tube is protected from heat and abrasion
- Every connection has been leak-tested
Common PU Pneumatic Tubing Installation Mistakes
Several common mistakes can cause an otherwise suitable pneumatic tube to fail.
Using the Wrong Tube Size
A tube may appear to fit but still have an incorrect outside diameter. Always check the specified size rather than relying on visual comparison.
Cutting the Tube at an Angle
An angled cut may prevent the tube from passing completely through the fitting seal. Use a pneumatic tube cutter and replace any poorly cut end.
Inserting the Tube Only Partway
The tube must reach the internal stop. Partial insertion can create a connection that initially appears secure but leaks or pulls out after pressurization.
Bending Too Close to the Fitting
A sharp bend places side load on the tube and fitting. Improve the routing or use an elbow connector.
Ignoring Temperature and Chemical Exposure
Higher temperatures can reduce the allowable working pressure of plastic tubing. Chemicals may cause swelling, softening, cracking, or loss of strength. Check compatibility before installation.
Frequently Asked Questions
Can Scissors Be Used to Cut Pneumatic Tubing?
Scissors may flatten or angle the tube end. A dedicated pneumatic tube cutter is recommended because it produces a cleaner, rounder, and more square cut.
How Far Should Pneumatic Tubing Be Inserted?
Push the tube through the release collar until it reaches the internal stop. The exact insertion depth depends on the fitting model.
Why Does a Push-to-Connect Fitting Leak?
Common causes include an angled cut, incomplete insertion, scratched tubing, an incorrect outside diameter, excessive side load, contamination, or a damaged fitting seal.
Can Damaged PU Tubing Be Reused?
A locally damaged end may sometimes be cut away. Do not reuse tubing with widespread cracking, softening, discoloration, abrasion, or other material deterioration.
Can PU Pneumatic Tubing Carry Liquids or Chemicals?
Only use the tube with media confirmed as compatible by the manufacturer. Chemical compatibility, working pressure, and operating temperature must all be checked before use.
How Can a Pneumatic Tube Be Removed from a Push-In Fitting?
First shut off the air supply and completely depressurize the system. Press the fitting’s release collar evenly toward the fitting body, then pull the tube straight out. Do not pull the tube out under pressure.
Final Recommendations
Reliable PU pneumatic tubing installation begins before the tube enters the fitting. Correct size selection, careful inspection, square cutting, full insertion, proper routing, and leak testing all contribute to a safer and more efficient compressed air system.
HOMIPNEU supplies pneumatic air hoses and matching push-to-connect fittings for industrial automation, pneumatic control panels, machinery, and OEM applications.
When requesting a product recommendation, provide the required tube size, working pressure, operating temperature, medium, fitting type, color, and order quantity. This information helps identify a suitable tubing and fitting combination.